
Quick Start
Welcome to Metaforce! Follow this guided walkthrough to get up and running with account sign-in, connecting your Salesforce organizations, and utilizing core administration and development tools in less than five minutes.
1. Sign In to Metaforce
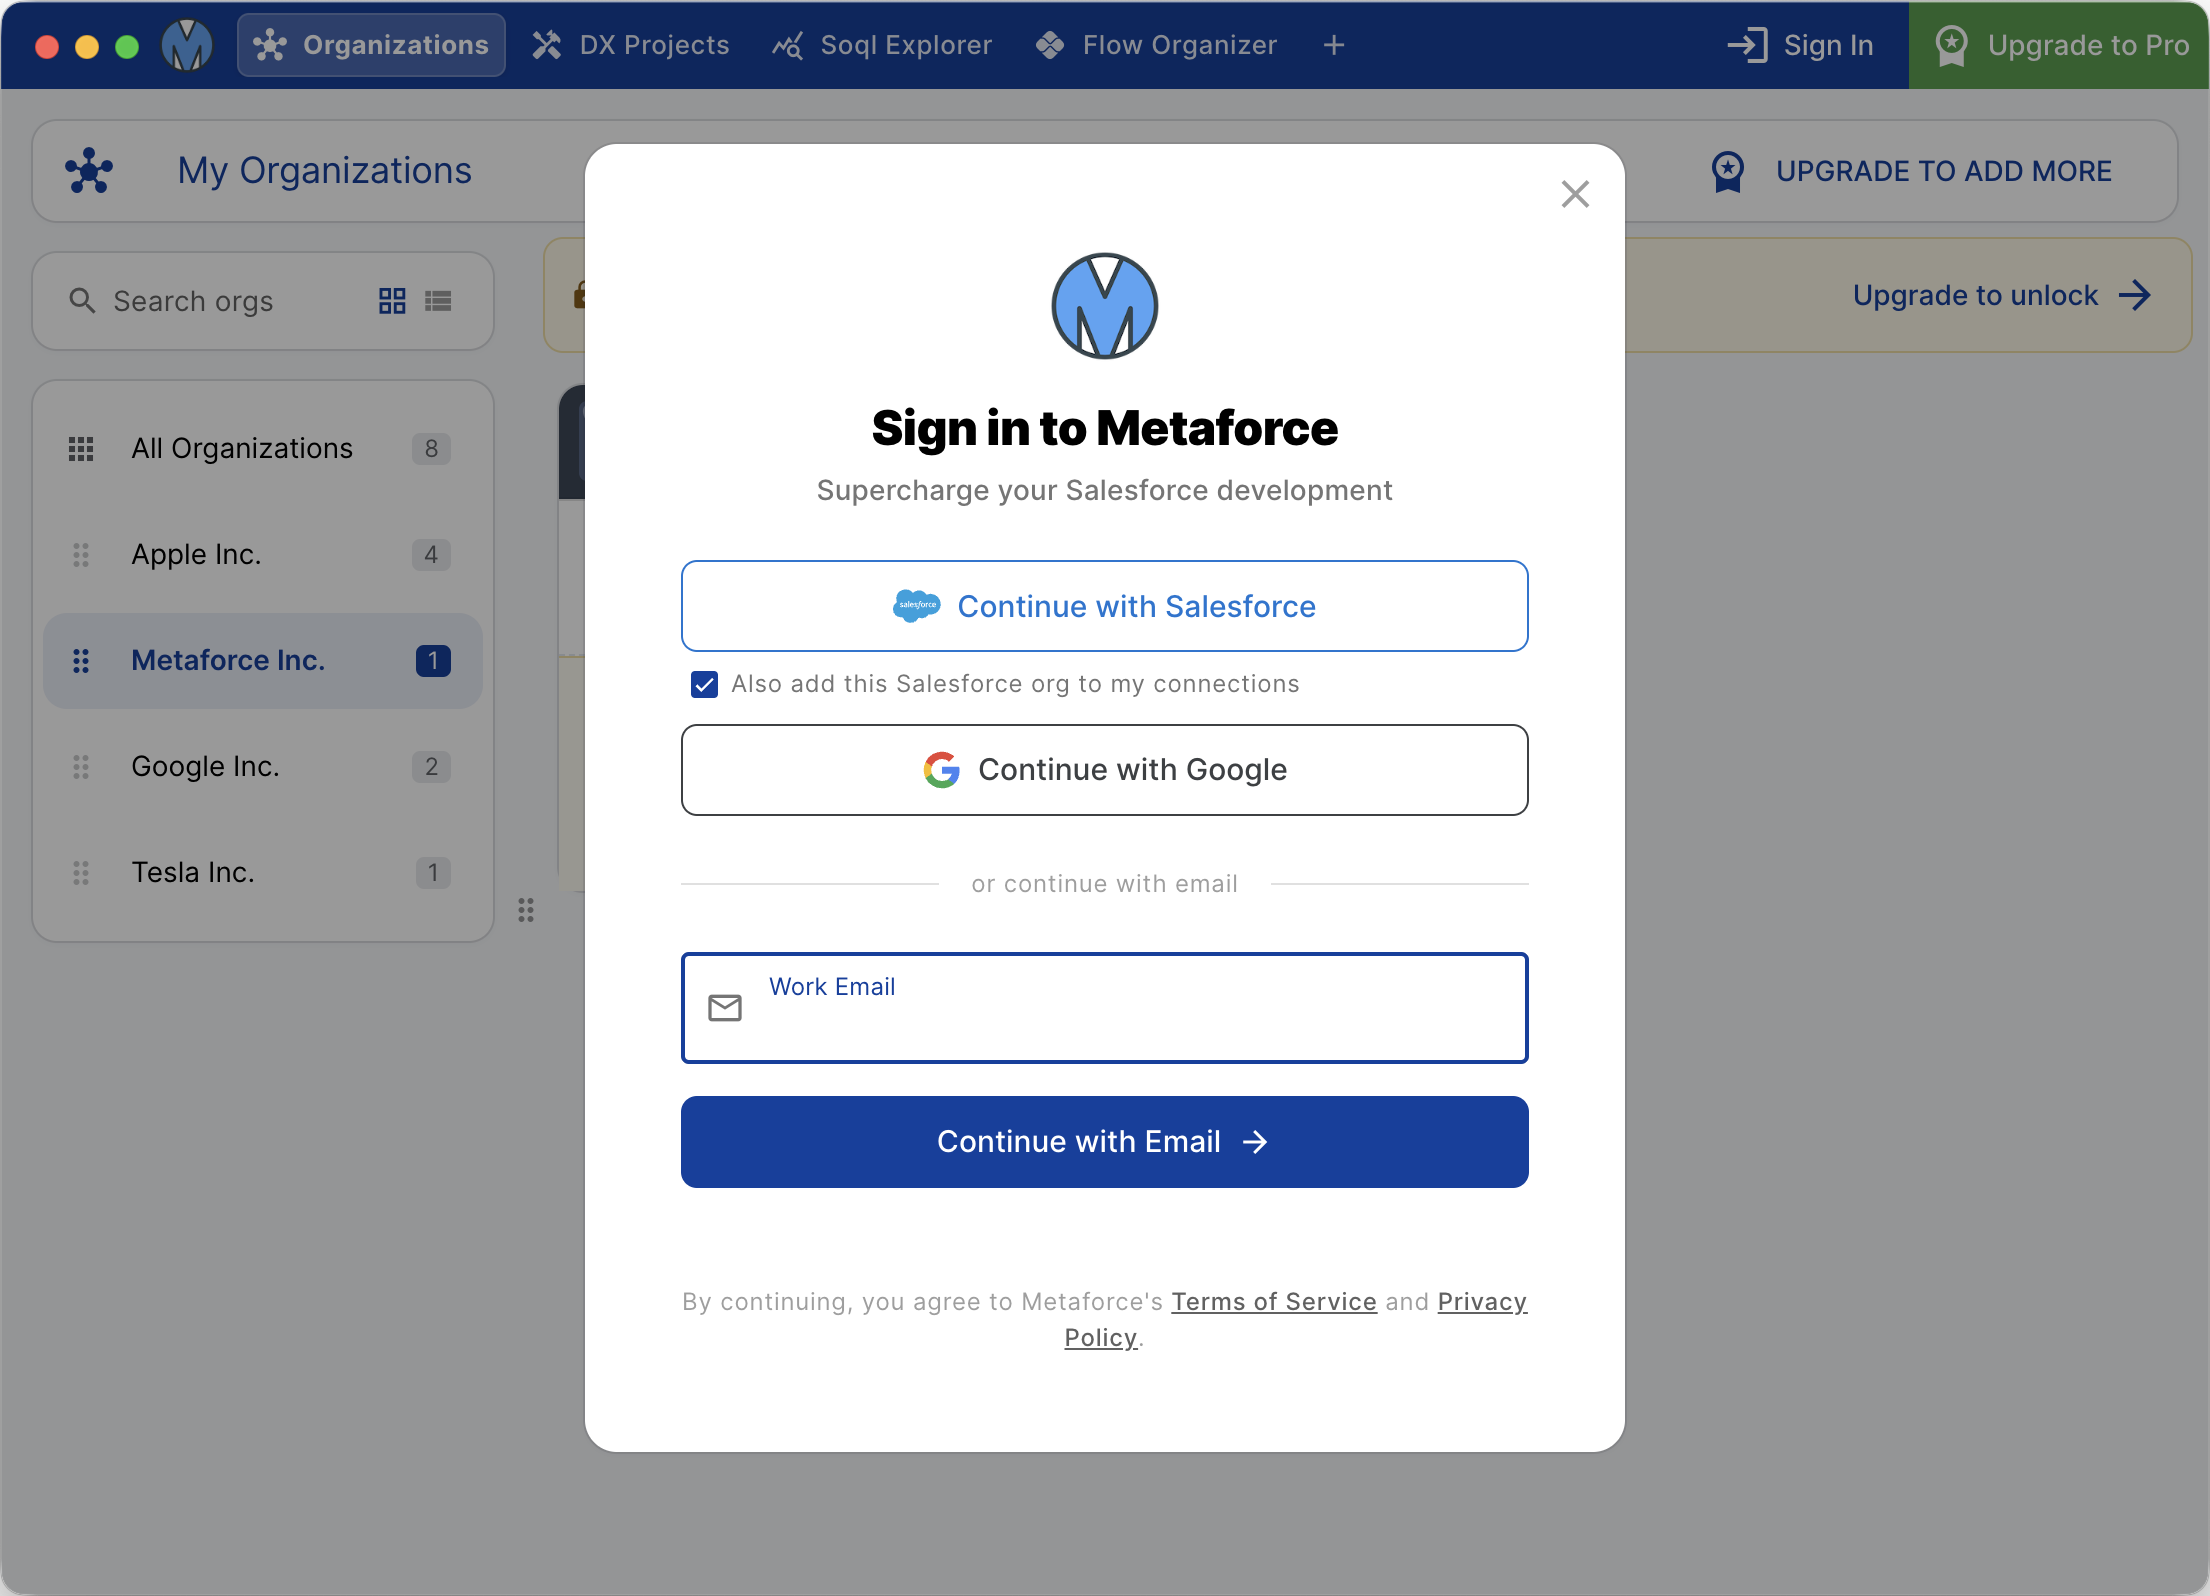
When you launch Metaforce for the first time, you can explore the app immediately as a guest or sign in to unlock cloud sync and subscription benefits:
- Click the Sign In button in the top-right corner of the app header.
- Choose your preferred sign-in method:
- Continue with Salesforce: Use your Salesforce identity for 1-click authorization. (You can check "Also add this Salesforce org to my connections" to connect the org simultaneously).
- Continue with Google: Sign in instantly using your Google account.
- Continue with Email: Enter your work email to receive a passwordless 6-digit verification code.
- Once signed in, your account status displays in the header, enabling Cloud Backup & Device Migration across all your machines.
2. Connect a Salesforce Org
Metaforce authorizes your Salesforce account securely via the official Salesforce OAuth 2.0 Web Server Flow. All access tokens are stored exclusively in your local machine's encrypted vault.
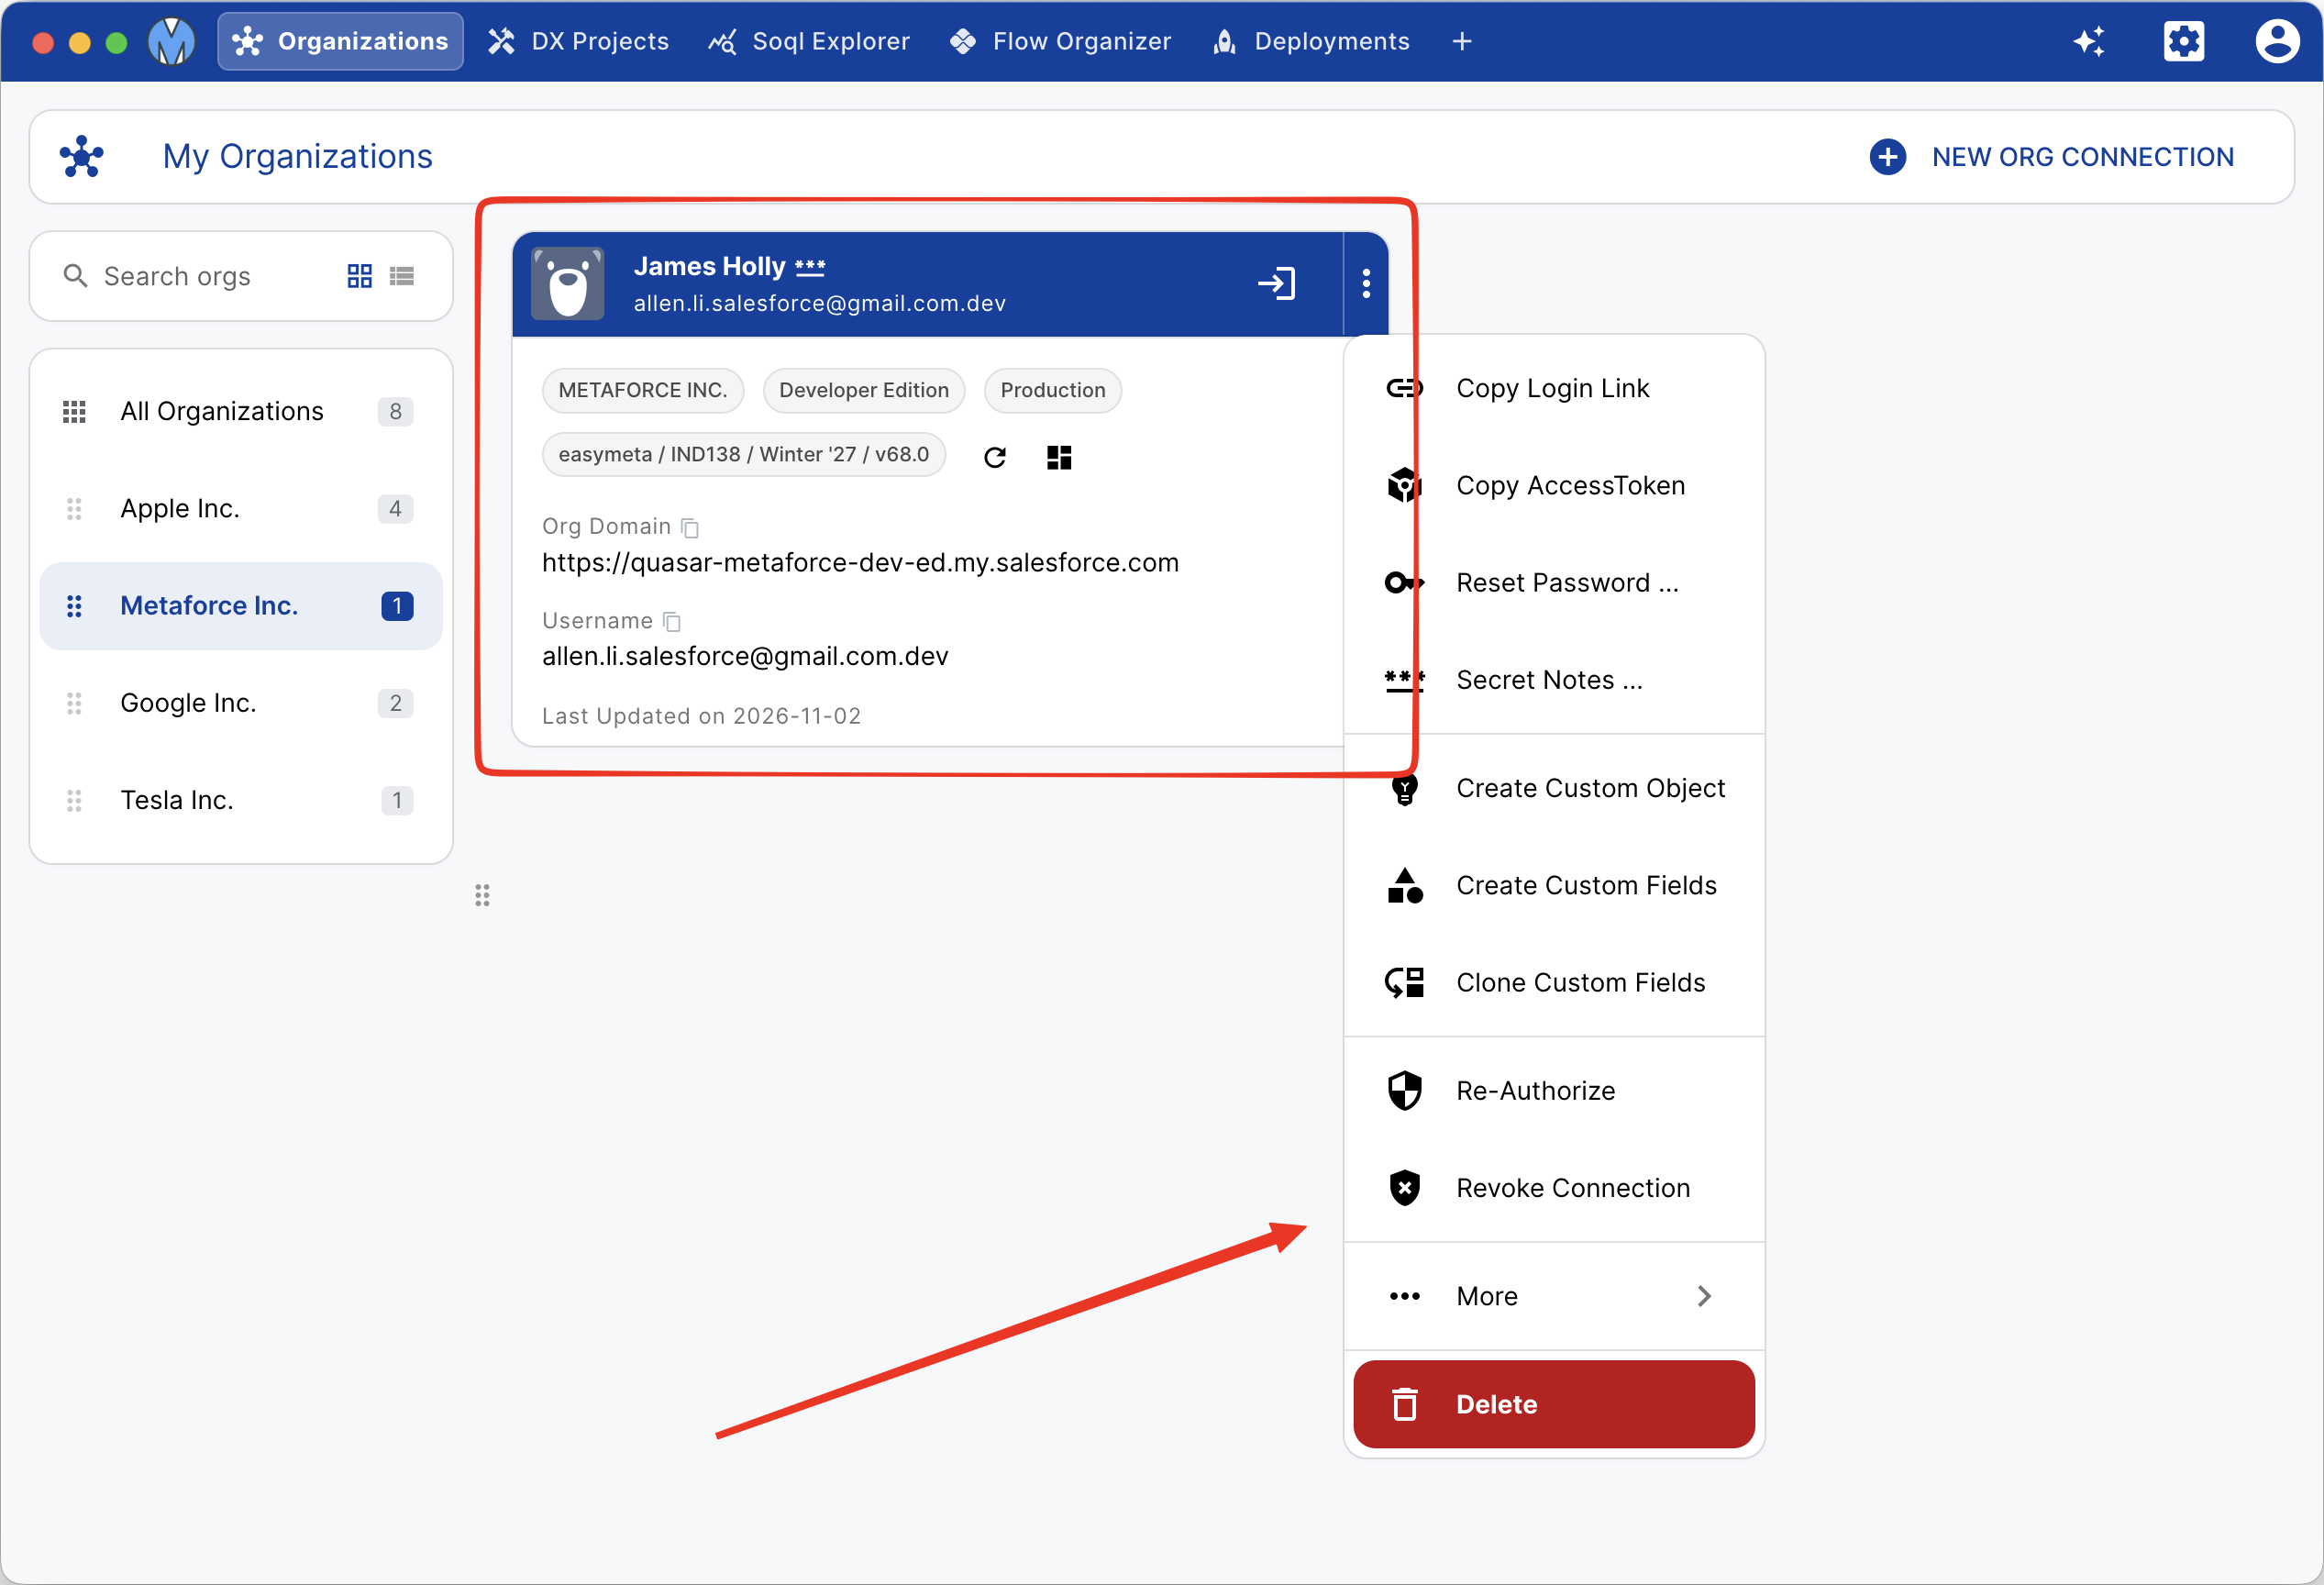
- Navigate to the Organizations console and click New Organization in the toolbar.
- Select your environment type from the segmented control:
- Production: Standard Salesforce production environment (
login.salesforce.com). - Sandbox: Standard test sandbox (
test.salesforce.com). - Custom Domain: Connect via your company's custom My Domain or Single Sign-On (SSO) URL. Enter your subdomain (e.g.
yourcompany), and Metaforce validates the hostname with live endpoint preview.
- Production: Standard Salesforce production environment (
- Click Connect to open the standard Salesforce login window.
- Enter your username and password, complete initial mobile MFA verification if prompted, and click Allow to authorize API permissions.
Fast Import from JSON
Already have saved session credentials or SFDX auth tokens? Click the Import JSON icon button in the header of the connection modal to connect your org instantly without opening a browser.
3. Daily 1-Click Passwordless Login to Salesforce
Once an organization is connected, you never need to type passwords or confirm repeated MFA challenges to access Salesforce Setup:
- Open in Default Browser:
Click the Open in Browser icon on any organization card or table row. Metaforce generates a secure frontdoor session and launches Salesforce directly in your default browser. - Open in Incognito Window:
Need to test multiple users or access another org without conflicting browser cookies? Click Open in Incognito to open an isolated private session.
4. Open a DX Project & Code Editor
Develop Apex, LWC, Aura, and schema definitions with zero lag:
- Navigate to DX Projects and click New Project (or open an existing SFDX repository).
- Click Build Package XML to pick metadata components or auto-detect recent modifications.
- Click Save & Retrieve to sync components to your local disk.
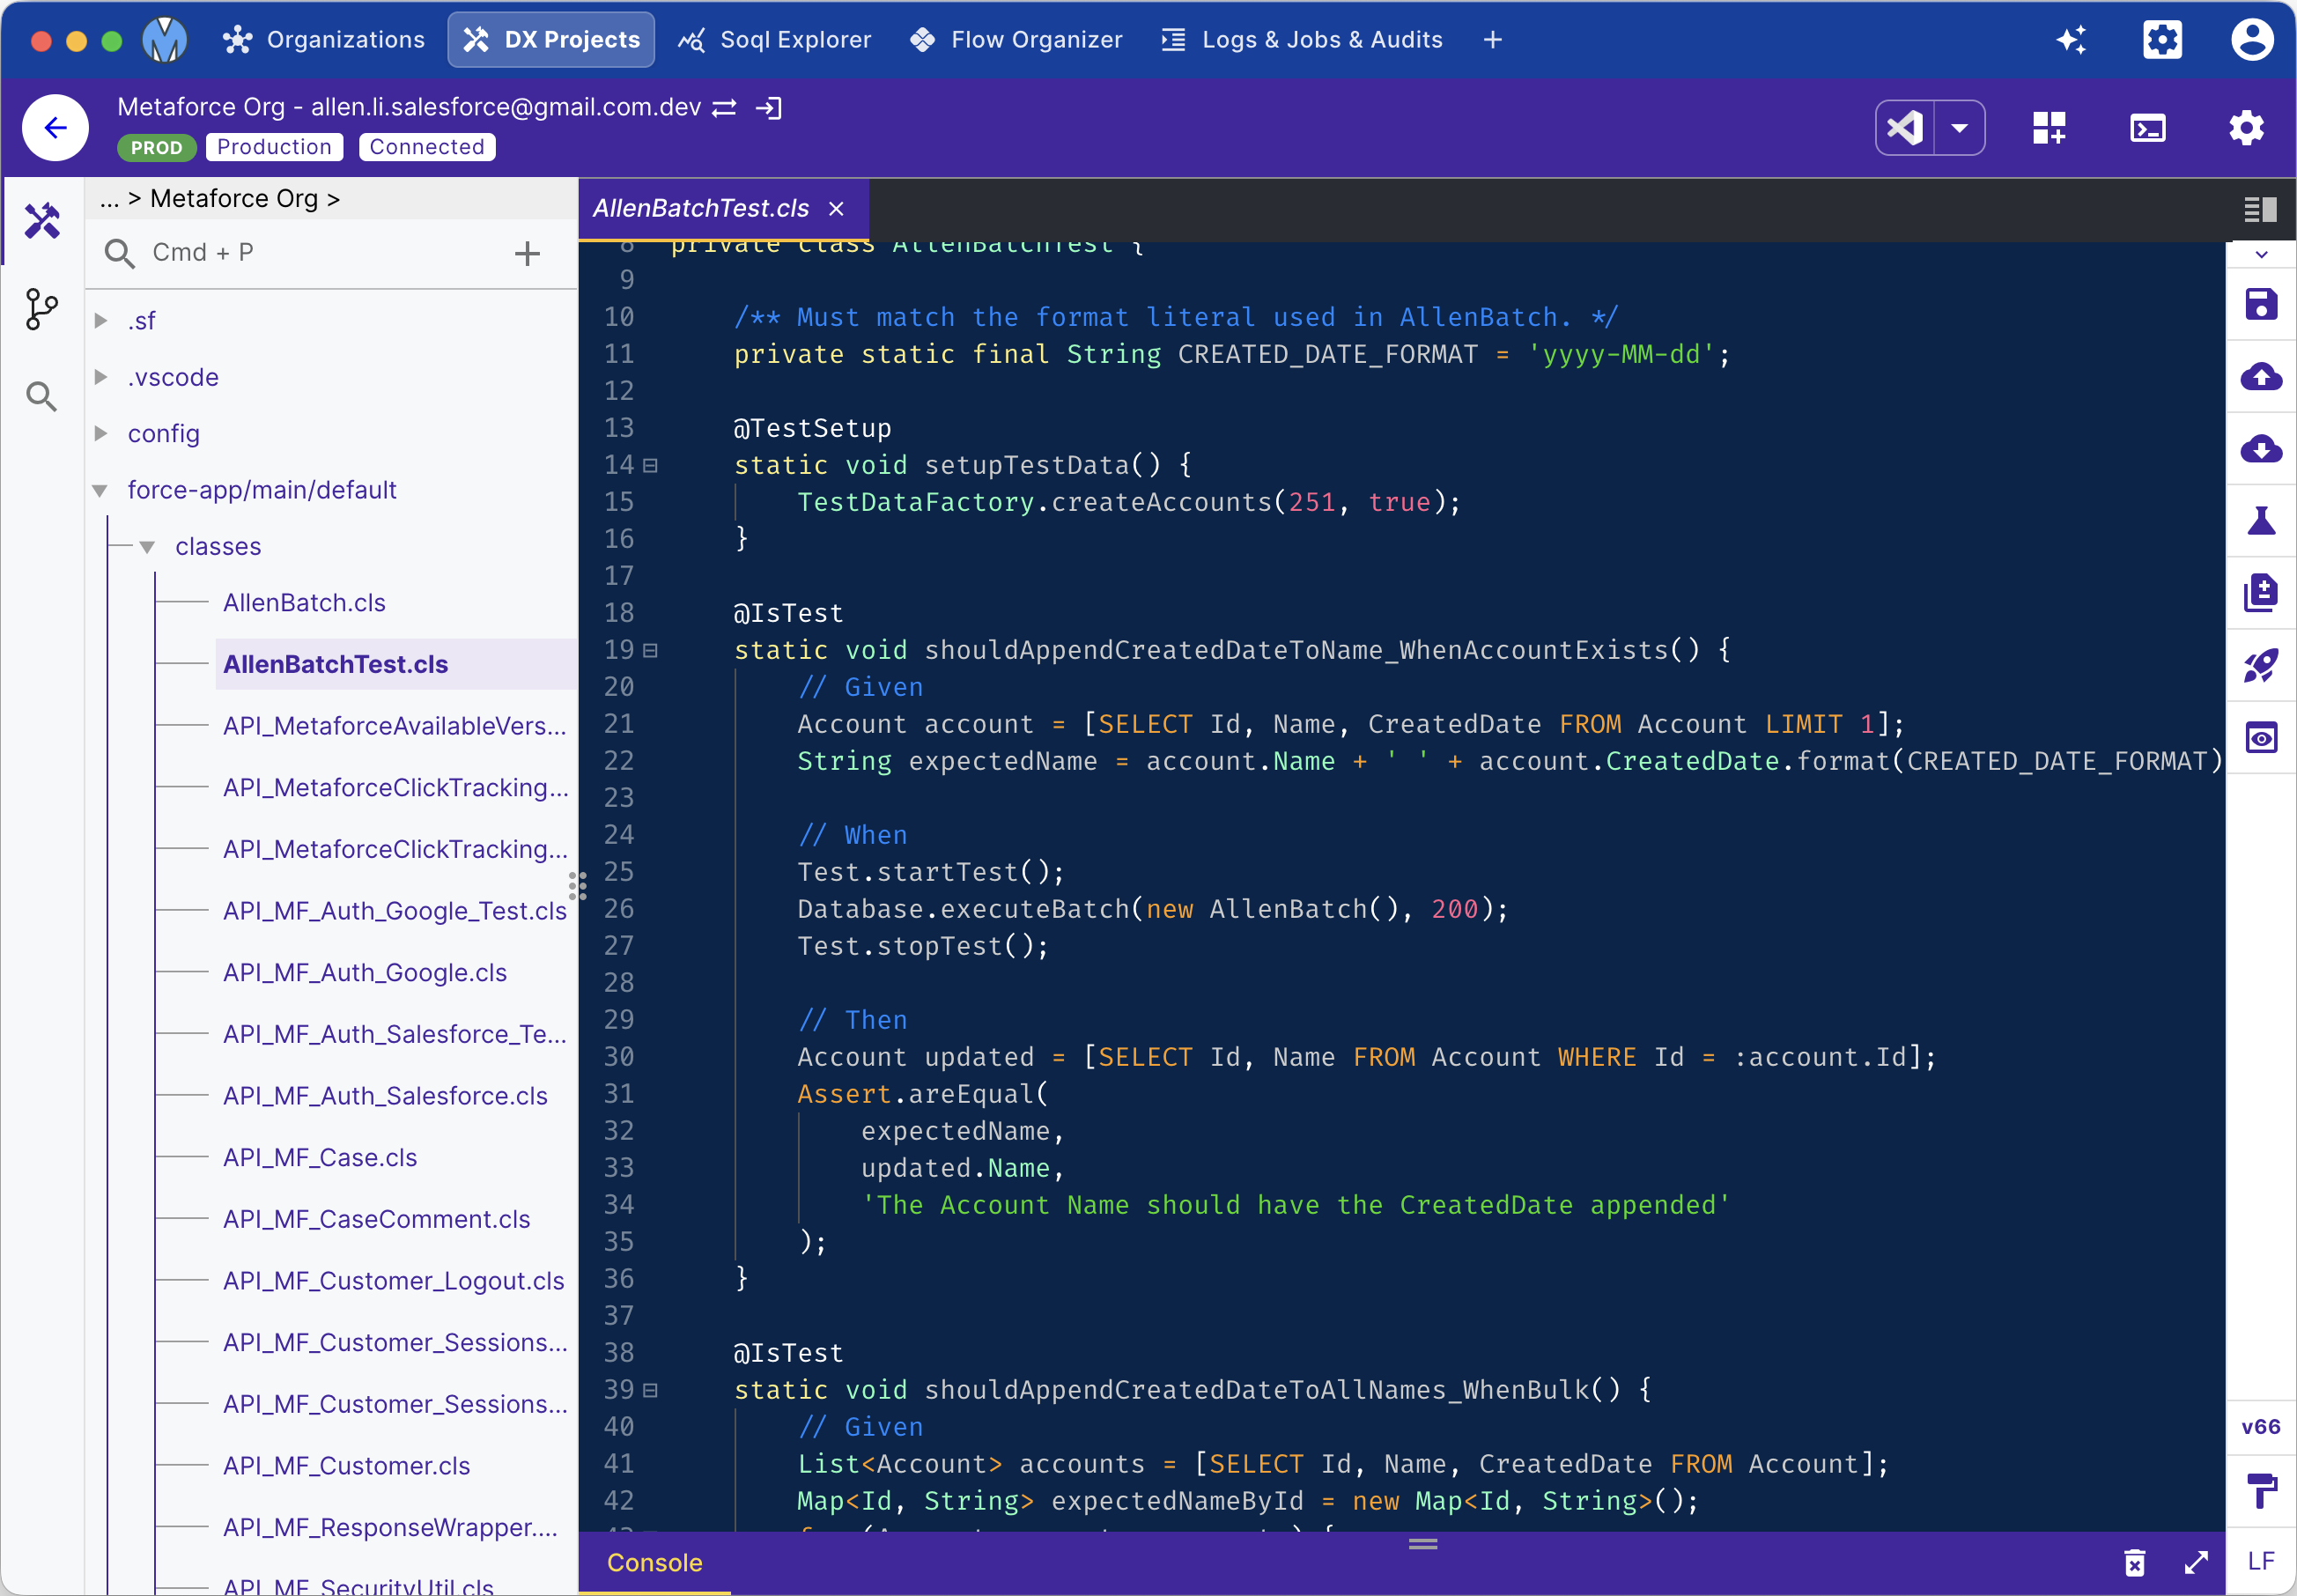
- Click Open Code Editor to launch Metaforce's dual-pane IDE:
- Click Split to Right to edit two files side-by-side.
- Click Deploy to Org to push files directly to any target environment with automatic Apex test validation.
5. Query & Edit Records with SOQL Explorer
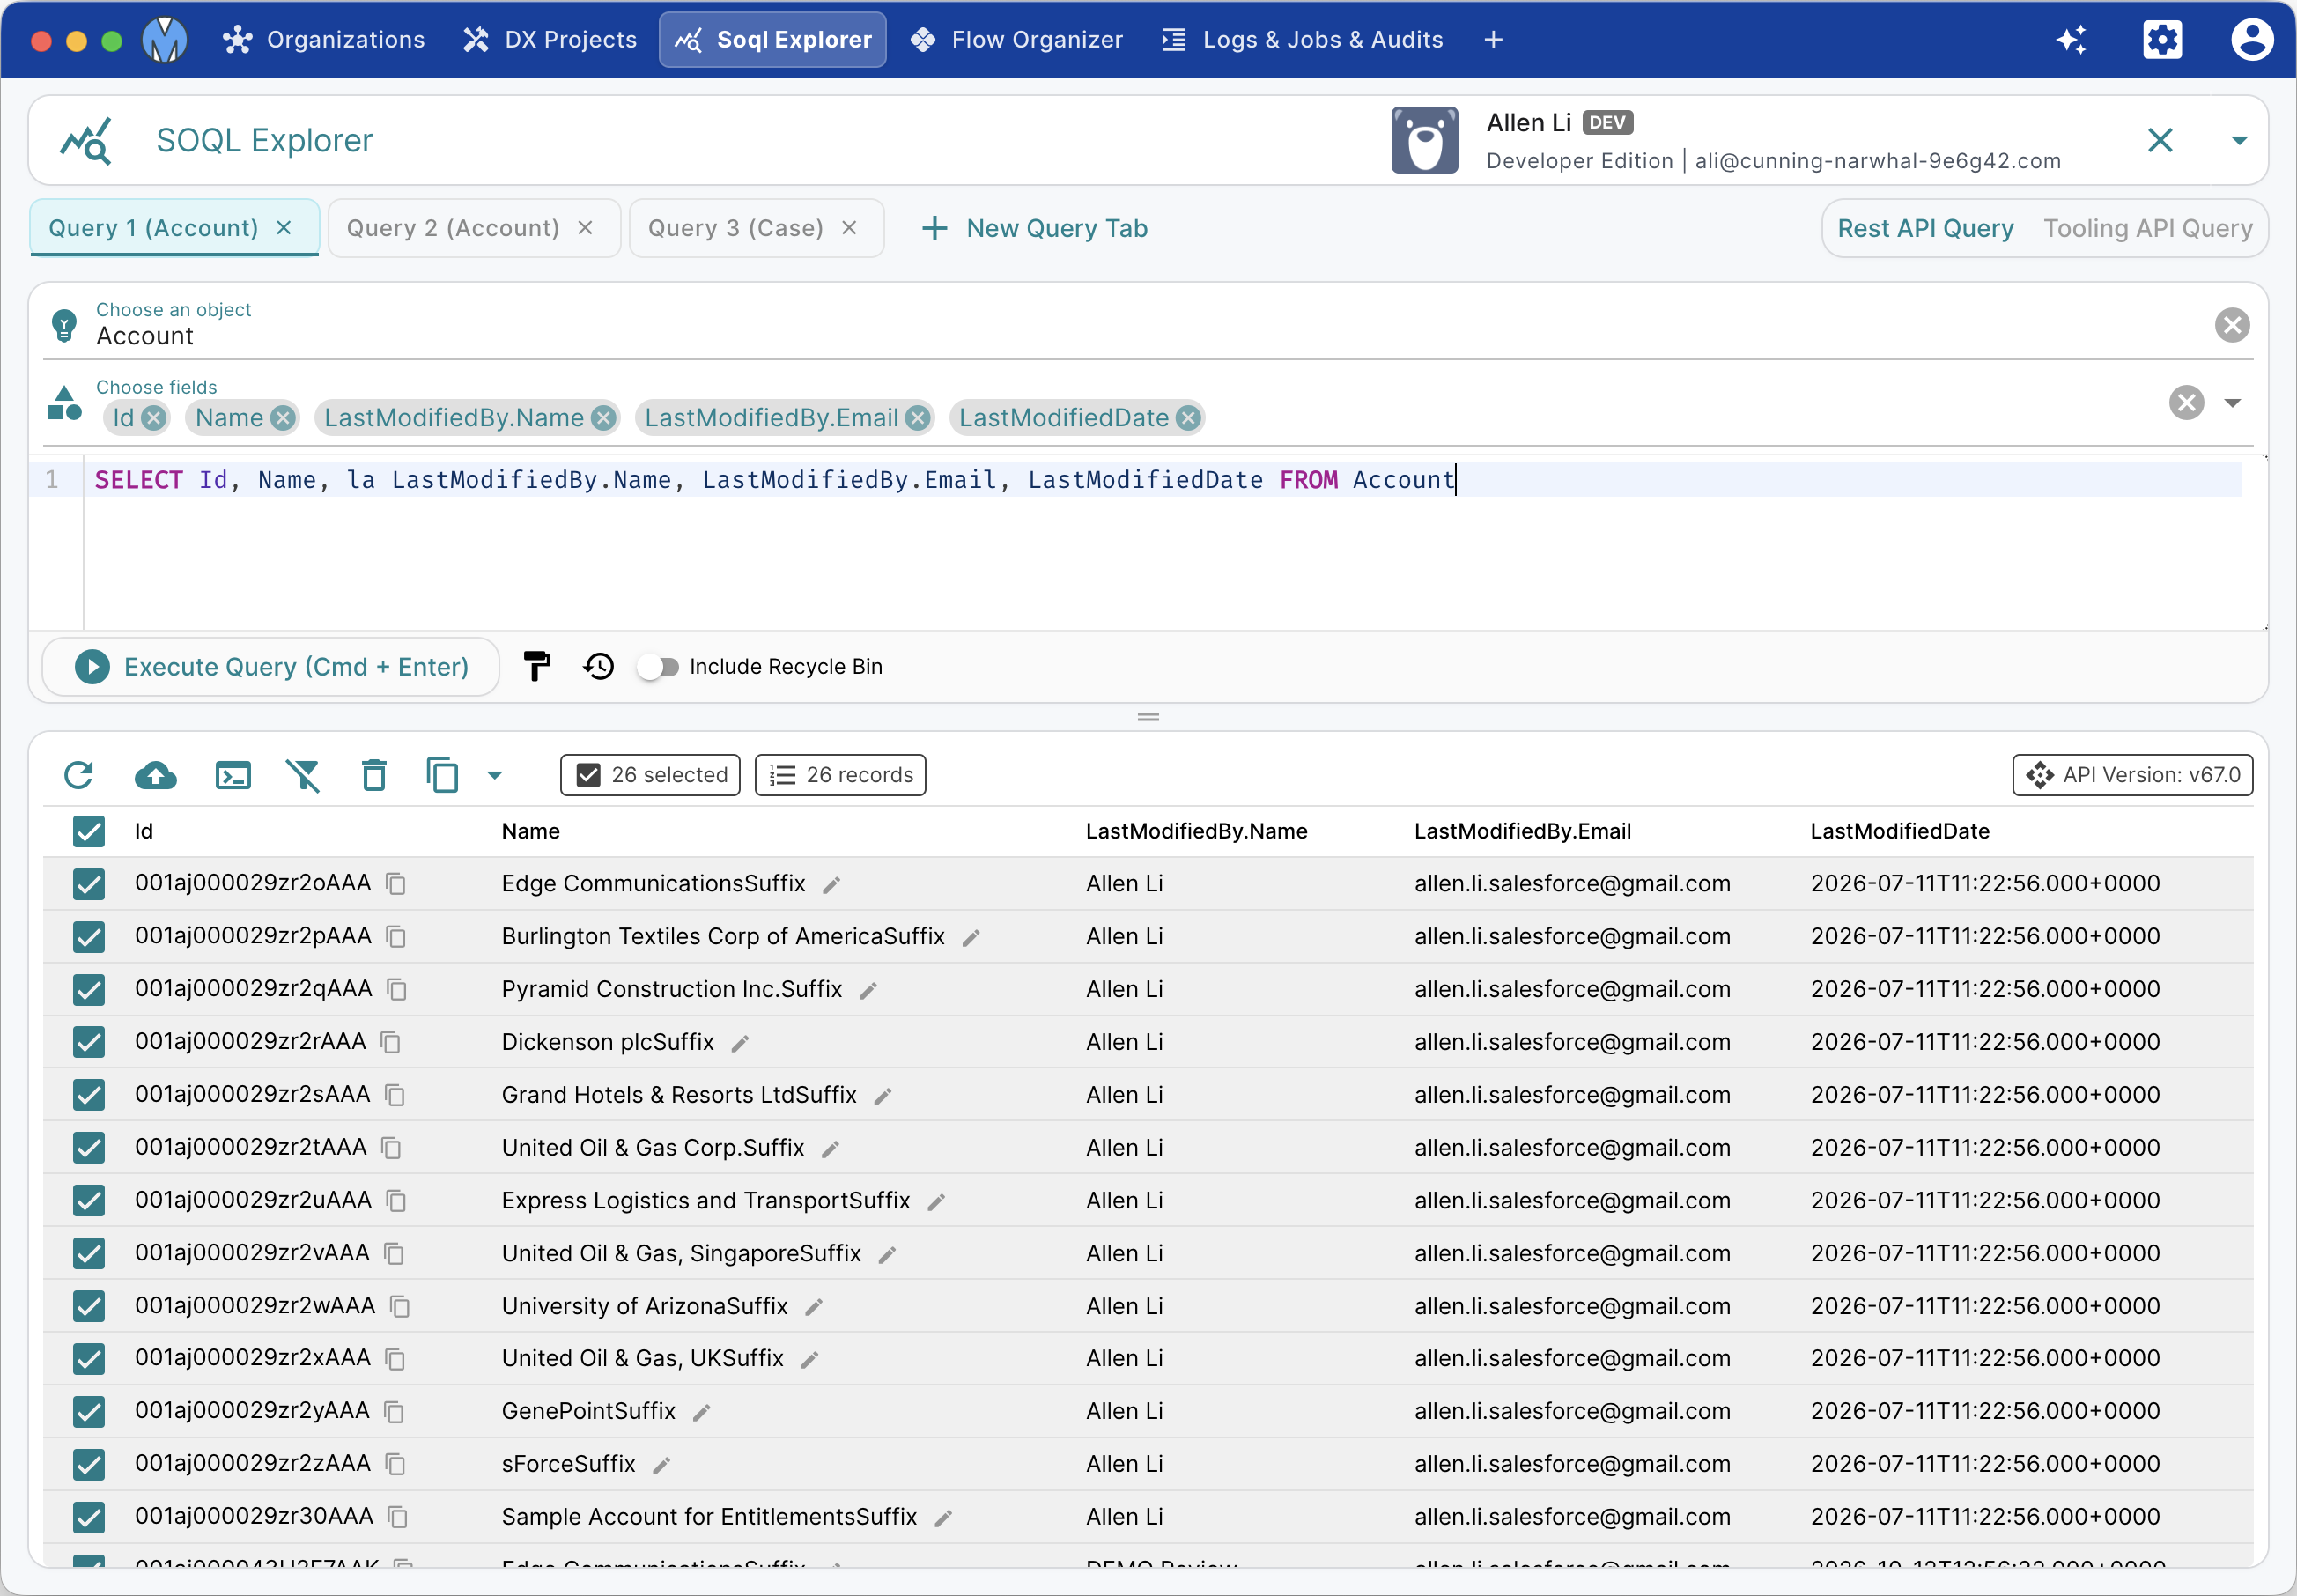
- Navigate to SOQL Explorer and select your organization.
- Click New Query Tab to open an independent query worksheet.
- Use the Dynamic SOQL Builder to pick objects, fields, and relationship fields with automatic query syntax generation.
- Press Cmd/Ctrl + Enter to execute the query.
- Inspect cross-object parent fields, expand child subqueries, edit values directly in table cells, or run custom JavaScript transformations.
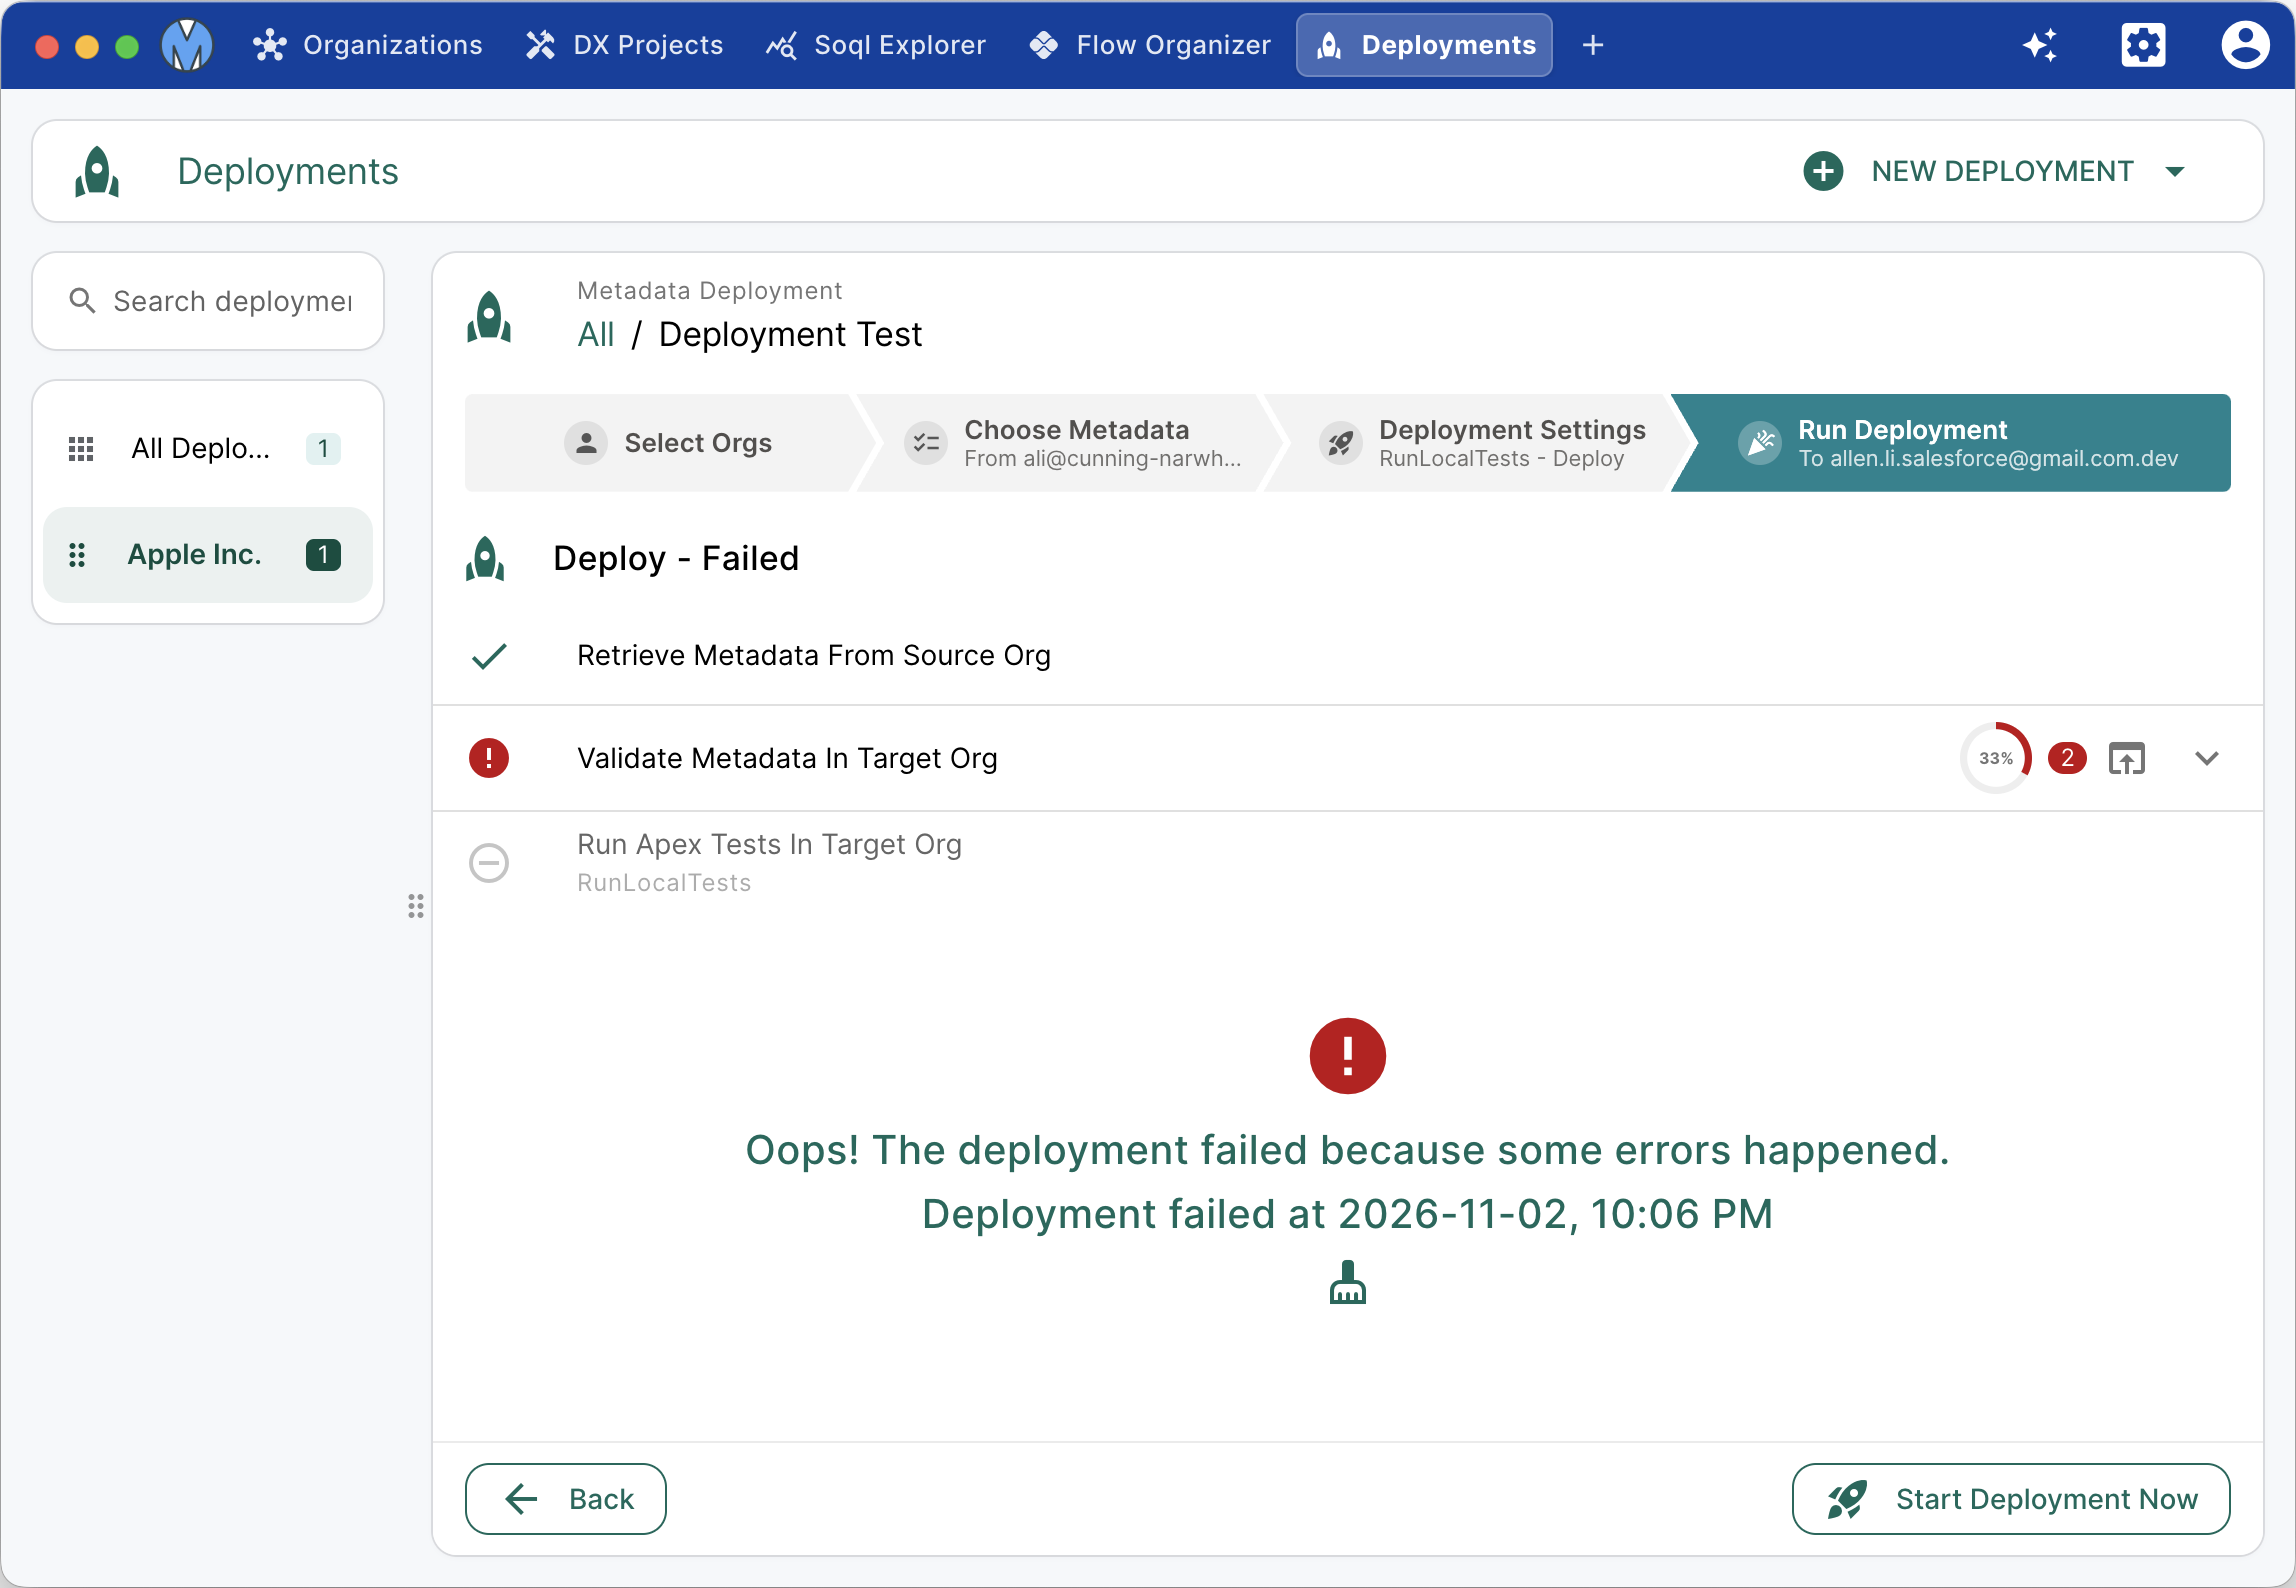
6. Run Deployments Between Orgs
Push metadata between Sandboxes and Production seamlessly:
- Navigate to Deployments → New Deployment.
- Step 1: Choose your Source Org and Target Org.
- Step 2: Select components using the Manifest XML Builder (manual search or auto-detect changes).
- Step 3: Configure deployment options:
- Action type: Validation, Deploy, or Destructive.
- Test level: NoTestRun (sandboxes only), RunSpecifiedTests, or RunLocalTests.
- Enable Diff Changes to preview line-by-line differences before deployment.
- Step 4: Click Start Deployment Now and monitor deployment progress in real time.
7. Supervise Background Jobs & Bulk API
Navigate to Logs & Jobs Monitor to:
- Monitor Bulk API v1 and v2 ingest/query jobs with 1-click download of success and error CSVs.
- Trace real-time Debug Logs and clean up log clutter.
- Track asynchronous Apex Jobs and cron-triggered Scheduled Jobs.
- Subscribe to real-time Streaming Events (Platform Events and CDC).